


Visualised sample project
Walk-in wardrobe
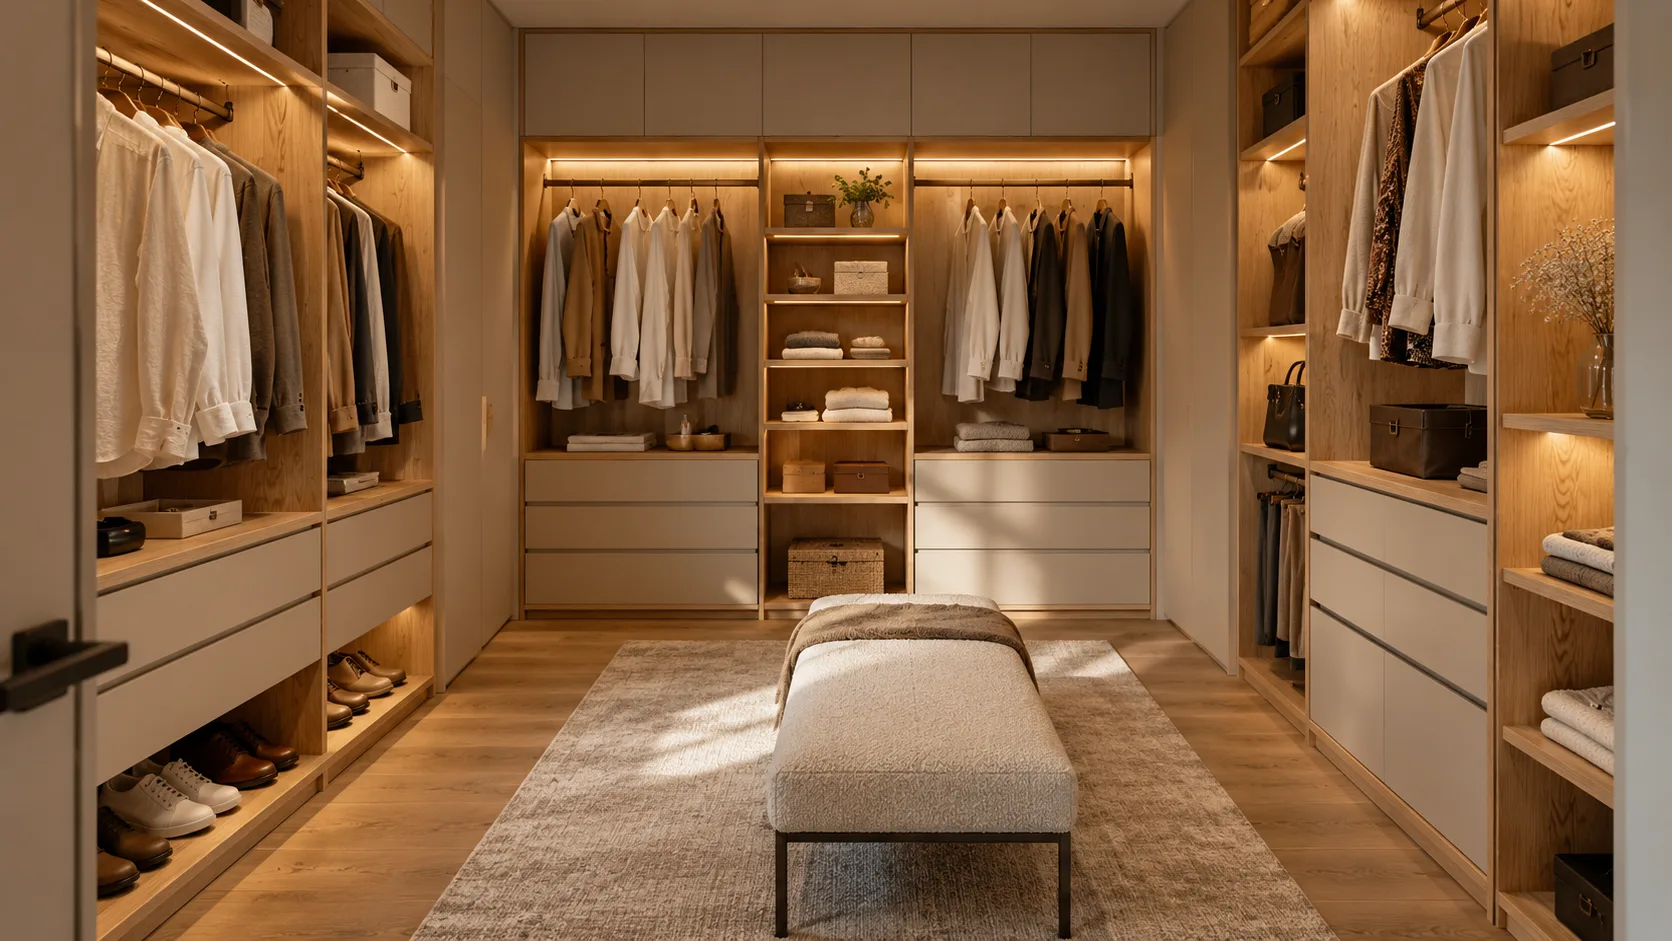
A calm, practical dressing room with clearly organised storage and warm surfaces.
The project idea
Organisation that works every day
The sample shows a dressing room for two people next to the bedroom. Clothes, shoes and accessories have dedicated areas, while closed upper compartments hold items that are not needed every day.
Starting point
A narrow, elongated room should be used more effectively than with separate wardrobes and chests. It needs space for short and long garments, folded items, shoes and small accessories without feeling overcrowded.
Planning approach
The layout follows the available walls and typical everyday movements. Frequently used clothes remain at a comfortable height. Drawers group smaller items, open shelves break up the long cabinet runs and closed compartments use the full height.
What the sample includes
- different hanging heights for shirts, jackets, dresses and trousers
- drawers with simple dividers for smaller garments
- open compartments for frequently used items
- pull-out shoe shelves at low level
- closed storage for suitcases, bedding and seasonal clothing
- warm-white lighting in selected open compartments
Materials and colour effect
The visualisation combines warm oak with matt fronts in a restrained sand tone. Dark rails and handles create clear lines. An upholstered bench and a calm rug complete the room without distracting from the storage.
This combination is an example. Surfaces, interior equipment, fittings and lighting are specified for an actual project after measuring and selecting samples.
From measurement to installation
- 01Record needs and room
Walls, doors, connections and usable heights are measured together with the type and volume of clothing to be stored.
- 02Plan the layout
The requirements become a clear layout with elevations, storage zones and sufficient movement space.
- 03Select materials
Surfaces, front colours, metal parts, drawers and lighting are chosen and coordinated.
- 04Prepare components
Cabinets, shelves, fronts and fittings are prepared for the room and organised for installation.
- 05Install and align
Elements are assembled and aligned on site. Fronts, drawers and lighting are then checked.
Planning to installation
The sample project in six steps
Select an image to view planning, materials and implementation in detail.
All images on this page are visualisations of the sample concept described.
Your project
Good planning starts with the actual storage requirement.
Send approximate dimensions and a short description of what needs to be stored. We can then assess which layout suits the room.